With every photo you take backing up to the cloud, it’s a little hard to feel like much is private. Fortunately, Google Photos has a feature called Locked Folder that allows you to keep personal hidden away. Here’s how it works.
Table of contents
How Google Photos’ Locked Folder works
Google Photos’ strong suit is being able to safely back up all of your pictures across devices. If something happens to one phone, your photos are safe and sound in the cloud. But what if you don’t want certain photos backed up to the cloud? That’s where the Locked Folder feature comes in.
The Locked Folder is a folder that is basically stripped away of any special features that make the rest of Google Photos special. Since it’s not backed up to the cloud, all of the images inside it are hidden, and it would take a successful fingerprint scan or PIN entry in order to access it. Because of this, your photos are safe here and can only be accessed by accessing the Locked Folder directly. That also means other apps can’t access your hidden images.
Google Photos’ Locked Folder feature is available for most Android devices running the latest version of Google Photos, including the Google Pixel 6 and Samsung Galaxy S21 FE.
Common misconceptions about Locked Folder
Because the Locked Folder isn’t backed up to the cloud, there are a few things to note. Keep in mind, the absence of these features acts as a security method to keep your images saved. Here’s what you should remember:
- Different versions of the photo you move – including saved copies and edited versions – aren’t moved along with the photo you’ve selected.
- Photos that are moved to the Locked Folder from your backed up images will be taken out of the cloud and will not be backed up.
- When you use the search feature in Google Photos, images in the Locked Folder will not appear.
- Apps that have access to your device images will be blocked from accessing the Locked Folder.
- If you uninstall Google Photos, pictures in the Locked Folder will be deleted.
How to move images into Locked Folder
There are a couple of different ways you can move photos into the Locked Folder, similar to how there are different ways to move other images across Google Photos. First, you need to know where the Locked Folder is located. Here’s how to get to the Locked Folder:
- Head into Google Photos on your Android device.
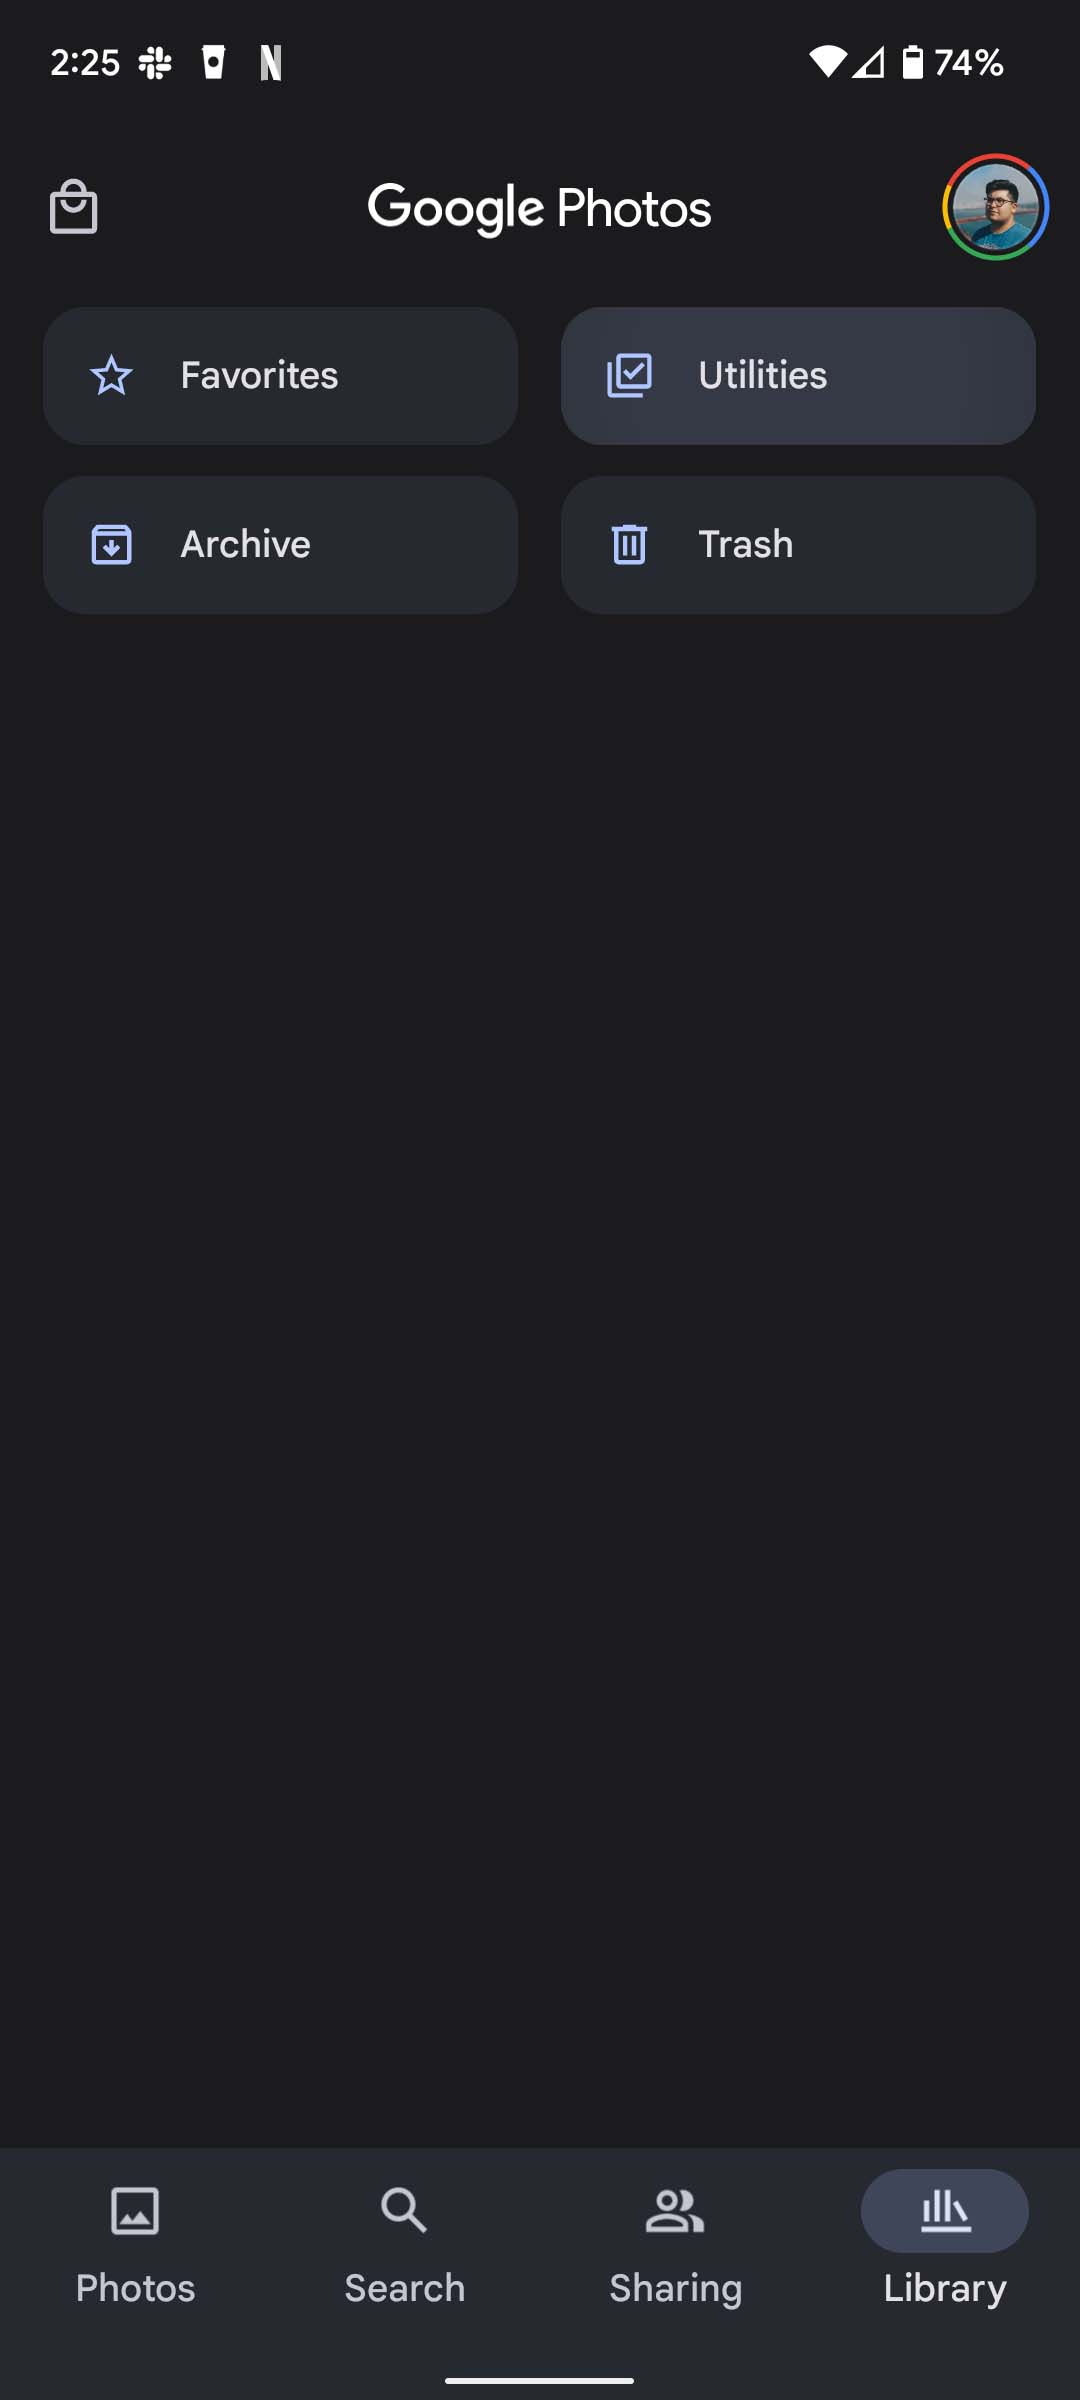
- Towards the bottom tap the Library section.
- At the top among the cards, tap Utlilities.
- Look for a section called Locked Folder.
- You’ll have to use whatever form of device unlock is set. For instance, you may have to scan your fingerprint or enter a PIN.
If this is your first time in the Locked Folder, there will likely be no photos to display inside. No worries, you can select and add photos right from the Locked Folder. Here’s how:
- From the Locked Folder, tap the add image icon at the top right of the screen.
- You’ll be sent to a page that has all of your backed up photos and videos. Choose the images you want to move.
- Once you select what you want to hide, tap Move.
- Unlock the Locked Folder with your fingerprint or PIN again.
- You’ll be asked once more if you’d like to move them. Tap Move.
After you’ve gone through that process, the photos you have selected will be moved into the Locked Folder, hidden away from prying eyes. The other method for moving pictures to the Locked Folder works well if you want to move images that haven’t been backed up yet and are in a local folder on your device. Here’s how to do it:
- Open Google Photos on your Android device.
- Tap Library at the bottom of the screen.
- Under the Photos on device section, tap View all.
- Tap an album that contains images you want to lock.
- Long tap to select photos and videos.
- Tap the three-dot menu at the top right corner and select Move to Locked Folder.
- Confirm and tap Move.
If you need to remove photos from the Locked Folder, it’s as easy as selecting images and tapping the Move button. This will send the photo back to its original location prior to locking away.
Overall, the Locked Folder feature in Google Photos is fantastic for hiding images that don’t need to be backed up to the cloud. Just don’t forget that if you uninstall Google Photos or reset your device, those images are gone forever.
More on Google Photos:
FTC: We use income earning auto affiliate links. More.